Alright folks, today I actually decided to try something different and walked myself through those diabetes self-test kits you can grab at the store. Yeah, just like one of those “do it yourself” things. With all the talk around, I figured, why not see what it’s all about? Keep it simple, right? So here’s exactly what I did, step by messy step.
Step 1: Grabbing the Kit & Reading That Tiny Print
First thing, I hit up the pharmacy. Found this little box, one of those home test kits. Not gonna lie, the instructions on the back looked like they were written for ants. Seriously, needed my reading glasses for this one. Had to sit down at my kitchen table just to make sense of it. It basically said:Wash your hands first. Seemed obvious, but okay, noted.
Step 2: Setting Up My Mini Lab
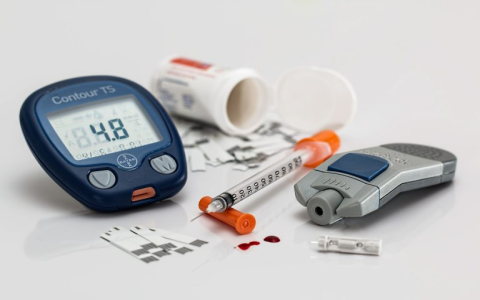
So, cleared some space on the table. Popped open the kit box. Found a bunch of stuff inside:
- This plastic thingy (the meter itself)
- A bunch of teeny tiny strips in a bottle
- A pen-like device with a needle inside (that part gave me pause!)
- Little plastic caps for that pen thing
- Some alcohol swabs in tiny packets
Put it all out neatly. Felt a bit like preparing for a very tiny, slightly scary science experiment.
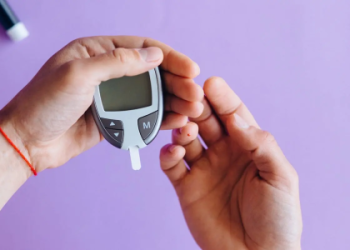
Step 3: The Finger Prick Moment (Yikes!)
This was the part I wasn’t exactly excited about. Washed my hands real good with warm soapy water and dried them thoroughly – the instructions kept banging on about that. Then, I popped one of those tiny needles into the pen device. Took an alcohol swab and rubbed the side of one finger, left it to dry for a few seconds. Took a deep breath, pressed the pen device against the side of my fingertip (not the pad, the instructions were clear on that!), and clicked the button. Felt a quick sharp sting, like a tiny pinch. Honestly, less bad than I thought it would be. Squeezed gently until a small bead of blood popped up.
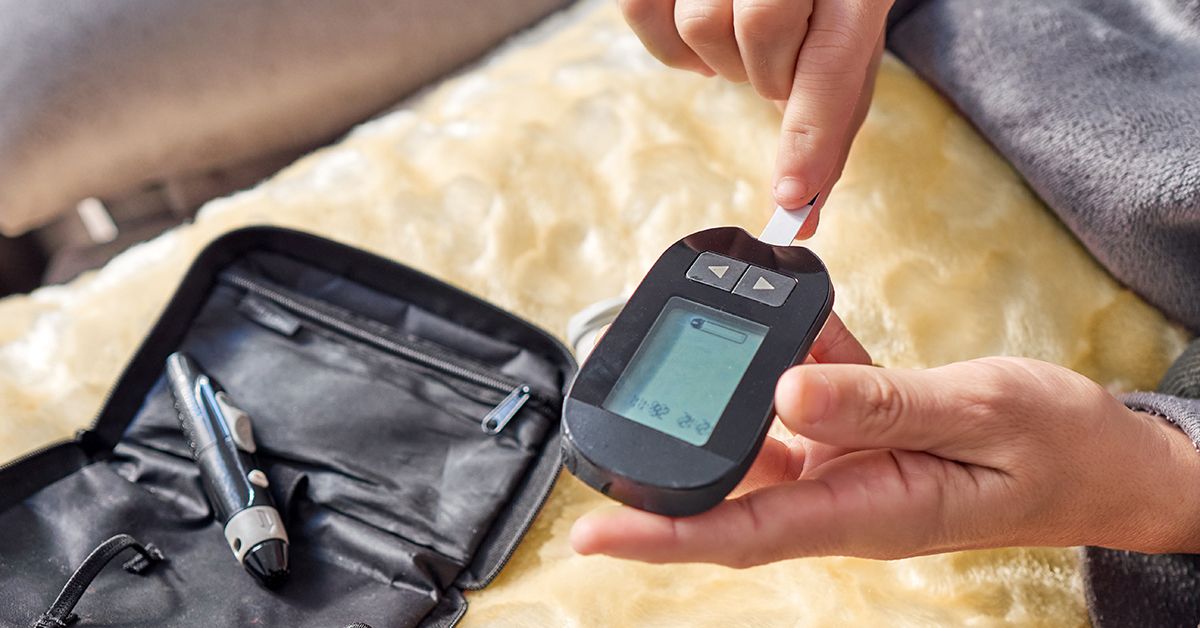
Step 4: Getting the Blood on the Strip
Before I did the poke, I grabbed one of those little test strips out of the bottle and pushed it into the meter slot until it clicked and turned on. It started flashing, waiting for the blood sample. Timing felt a bit rushed! Had to quickly touch that little drop of blood to the end of the strip sticking out of the meter. Held it there steady. Took me a second try cause the first time I messed it up and didn’t get enough blood onto the strip – dropped the strip on the floor too, typical me. Grabbed a new strip, redid the finger poke (same finger, different spot!), and this time got the blood onto the strip properly.

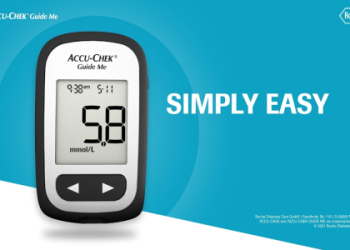
Step 5: The Waiting Game… Then the Numbers
Once the blood touched the strip, the meter just started doing its thing. A little timer popped up counting down – it felt like ages, but was probably only 5 seconds? Then blip, a number popped up on the screen. Mine showed something within a range I recalled seeing labeled as “non-diabetic” on a pamphlet I skimmed at the doc’s once. Honestly? Felt a huge wave of relief wash over me just sitting there looking at the number.
So, What Now?
Phew, that’s it. I cleaned up the tiny drop of blood with an alcohol swab, unscrewed the pen thingy and carefully put the used needle into the little sharp’s container that came with the kit (safety first!). Tossed the test strip. Shut the meter off. The instructions said to record the number, date, and time, so I scribbled it down on a notepad. The main takeaway for me? This gives a quick snapshot, nothing more. It’s not the whole picture. Knowing my luck and how I fumbled the strip, I sure wouldn’t rely on this single test for big decisions. Just gives me something to talk about with my actual doctor next time I see them. But hey, it worked, and I survived poking myself!


